Totem Cams Orange, 1.80
|
|
상품가격 상세보기
이벤트보기
|
- 상품상세정보
상품특징
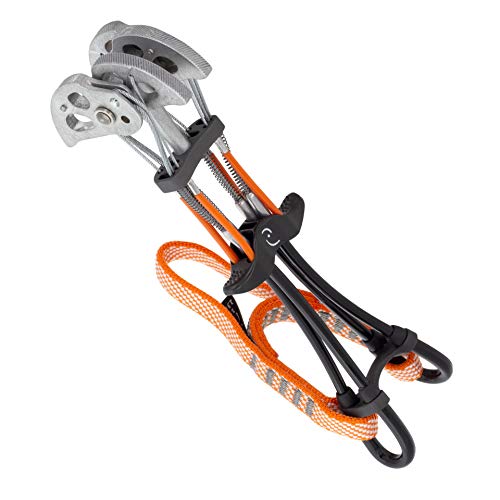
Make sure this fits by entering your model number.Placement Range: [black] 11.7 - 18.9mm [blue] 13.8 - 22.5mm [yellow] 17 - 22.5mm [purple] 20.9 - 34.2mm [green] 25.7 - 42.3mm [red] 31.6 - 52.2mm [orange] 39.7 - 64.2mmStrength: [black] 6kN [blue] 8kN [yellow] 9kN [purple] 10kN [green, red, orange] 13kNCam Lobes: 4Axle: singleStem: double
상품설명
The Totem Cam is perhaps the most innovative trad piece of the last several years, coming to our kit with more versatility for aid climbing on big walls. Used as a standard cam, the Totem boasts a large placement range, a surprisingly light weight, and a reliable fall strength for any crack you climb. Totem\'s patented Direct Loading Camming Device gives the Totem an extreme advantage over other cams and even most aid climbing pieces. The Direct Loading Camming Device allows you to place two of the Totem\'s lobes, clip the stem connecting to the lobes, and bare your weight on the two lobes like you would on any aid placement. This system gives you an easier time setting bomber placements in flares, pin scars, and other cracks that would have been difficult, or impossible, to place.

2019-04-10 17:57:13